
I Made My Room Listen to Siri—and My Discord Bot
A Raspberry Pi Pico W now controls my AC, lights, and TV through HomeKit—with a little help from OpenClaw.
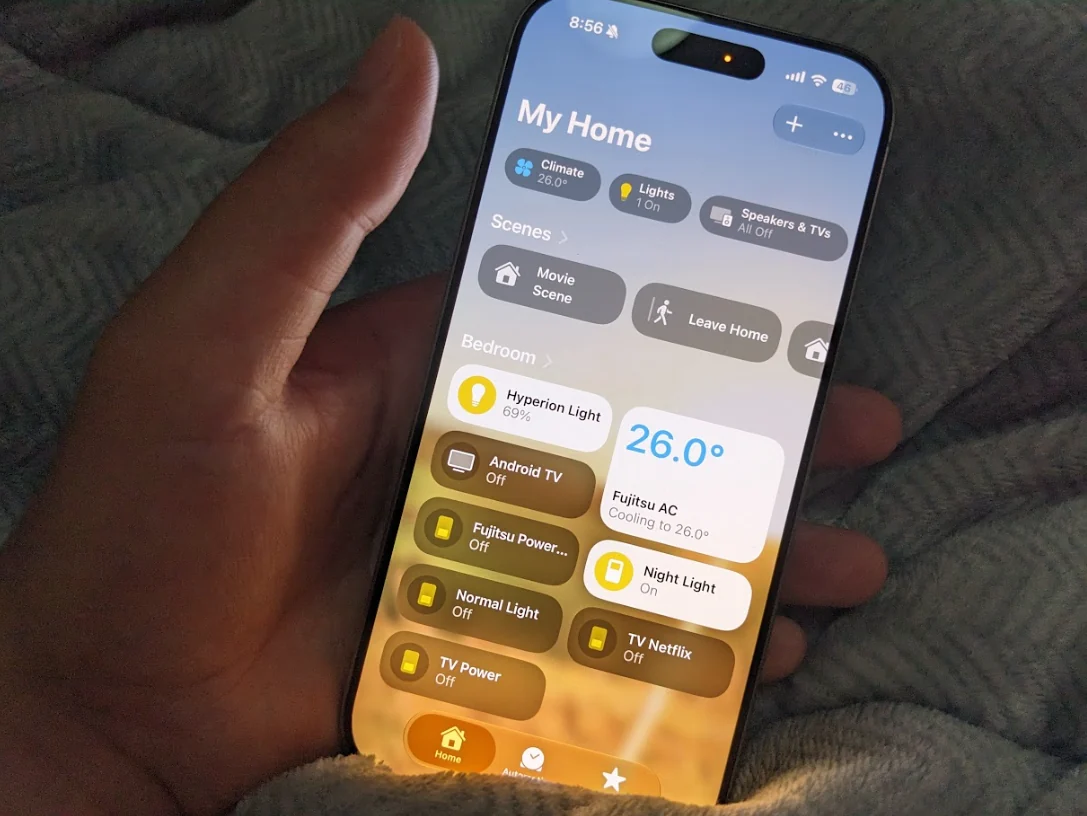
This is a continuation of my previous post about how I built an Ambilight TV system for my room: Vibe Coding my own ESP32-based Smart Home System. In that post, I talked about building an Ambilight system for my TV using ESP32. On top of the Ambilight system, I also added HomeKit support so I could control the lights using Siri.
This time, I took on an extra challenge. I wanted to build an all-in-one controller for my room that could control my AC, lights, and TV, while still being compatible with Apple's HomeKit. I already had a solid foundation from my previous project, which integrates with Apple's HomeKit using Homebridge on my old laptop. All I needed was an IR LED module and the control signals for each device. Easy peasy, right?
The Learning Phase
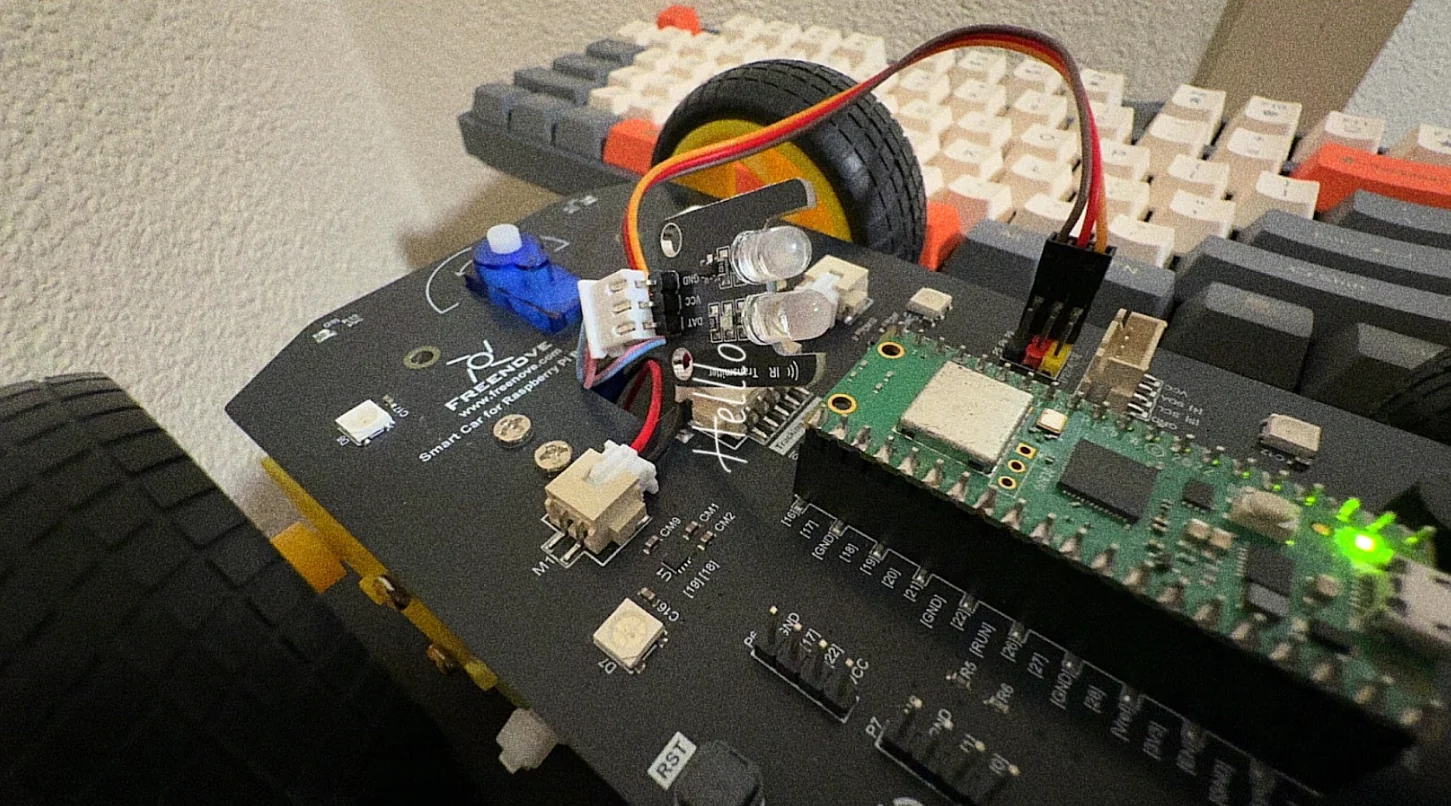
Turns out, not so easy. I bought a cheap IR module from AliExpress (more on that later), wired it up to my ESP32, and tried all the Fujitsu AC codes I could find online. None of them worked. I was frustrated. But while working through it, I learned a lot about controlling an IR module with a microcontroller, including signal frequency, the need for a burst of high current to drive the IR LED, pulse width, and more.
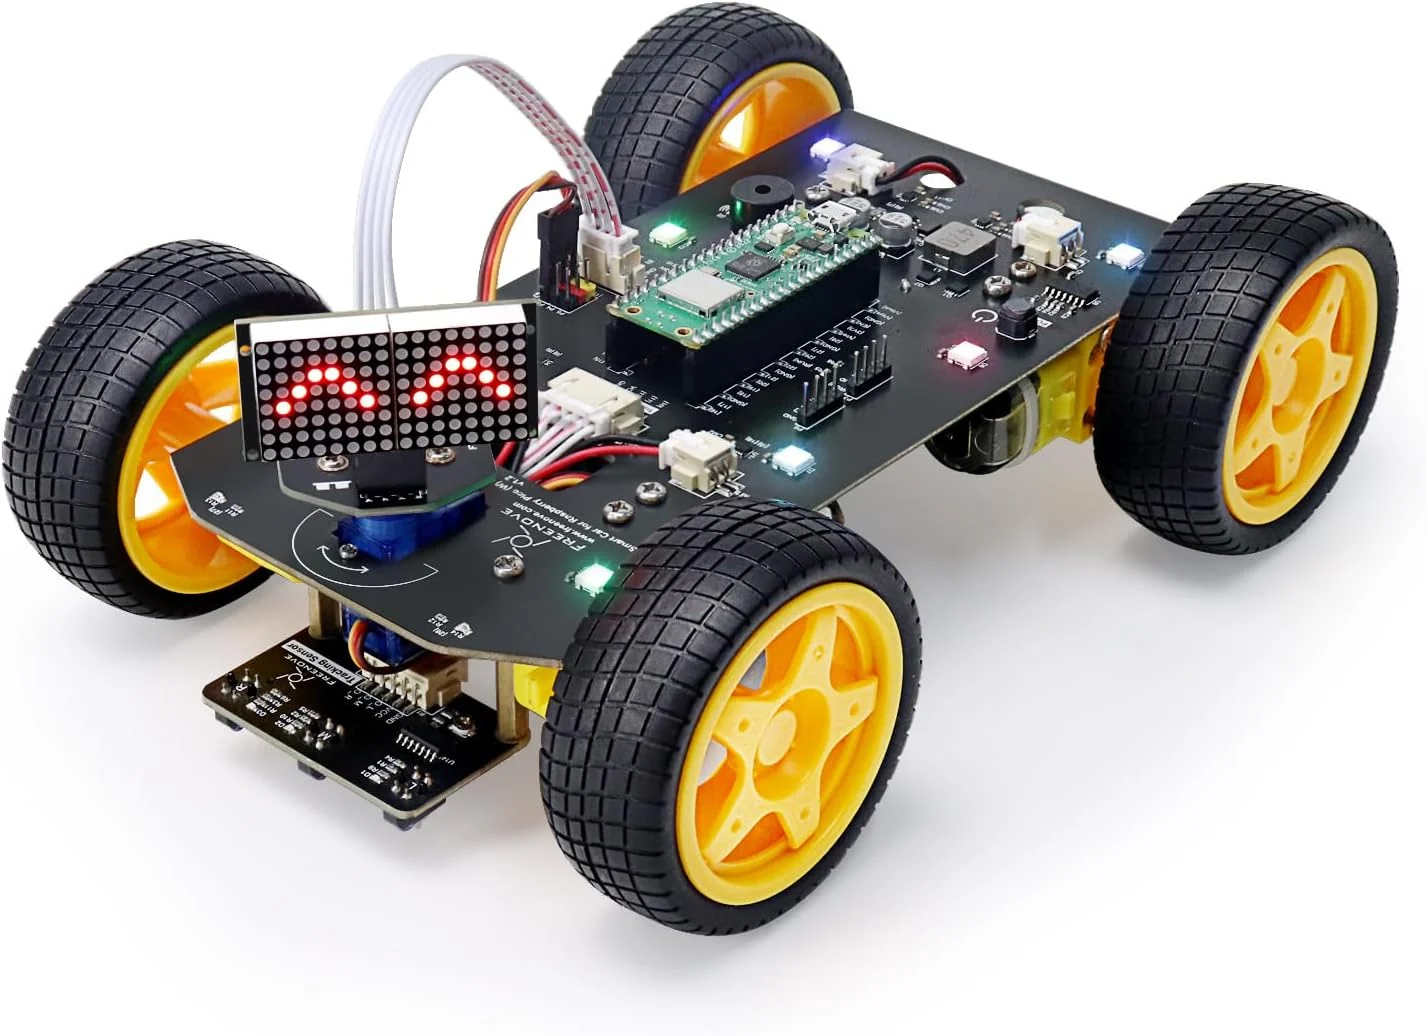
I also discovered that using Raspberry Pi Pico W would be a better choice than ESP32 for this project. For the tooling I was using, it gave me a cleaner path for the IR work. Plus, I already owned a Raspberry Pi Pico W-based car kit that I bought from Amazon a while back, so I already had one lying around. So, I migrated the whole project to Raspberry Pi Pico W, which was mostly handled by Opus 4.5 using Antigravity.
Getting the Signals Right
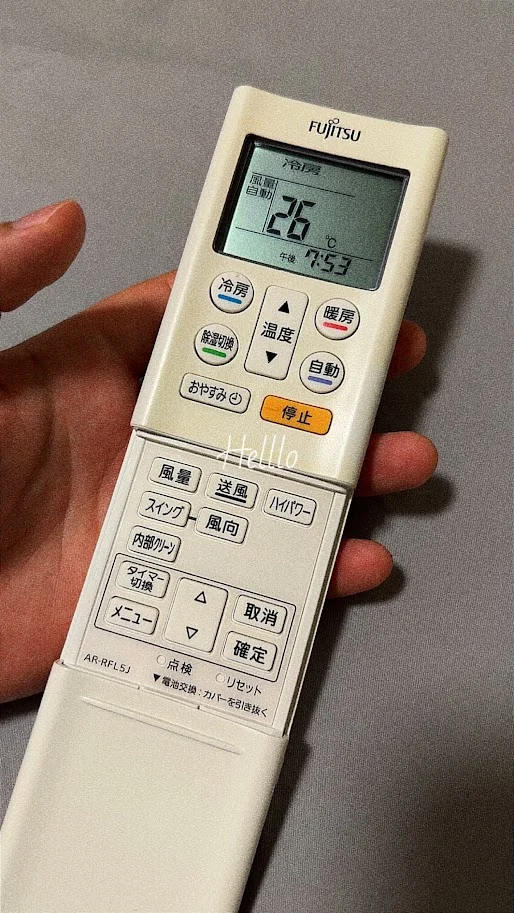
The most puzzling part was figuring out the Fujitsu AC's IR signal protocol. I asked the AI to try all sorts of Fujitsu AC IR codes it could find online. None of them worked. Then, Opus 4.5 suggested reverse engineering the IR protocol. Instead of waiting for me to give it instructions, it started instructing me to use its IR signal decoder program, press certain combinations of buttons on the remote, and share the results. I was fascinated. It felt like I had a colleague working with me on this project. Finally, we cracked it.
The Fake IR Module Saga
We got the software right, but the IR module was so weak that it couldn't even send signals to the AC from 4 feet away. Turns out, the IR module I bought had no transistor in it. The module had three pins, but the VCC pin and the signal pin were connected together! Took me hours to figure this out. However, it served as a good learning experience for me. While working with hardware, always check the pinouts properly using a multimeter. It will save you hours of debugging. Also, don't buy the cheapest components available on AliExpress without being absolutely sure.
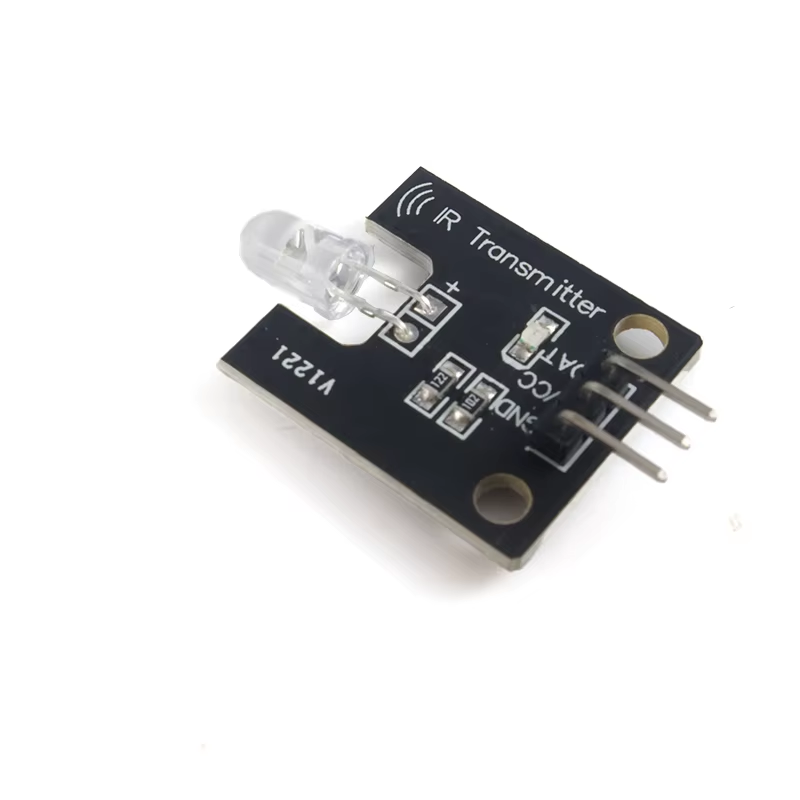
Fake IR transmitter module
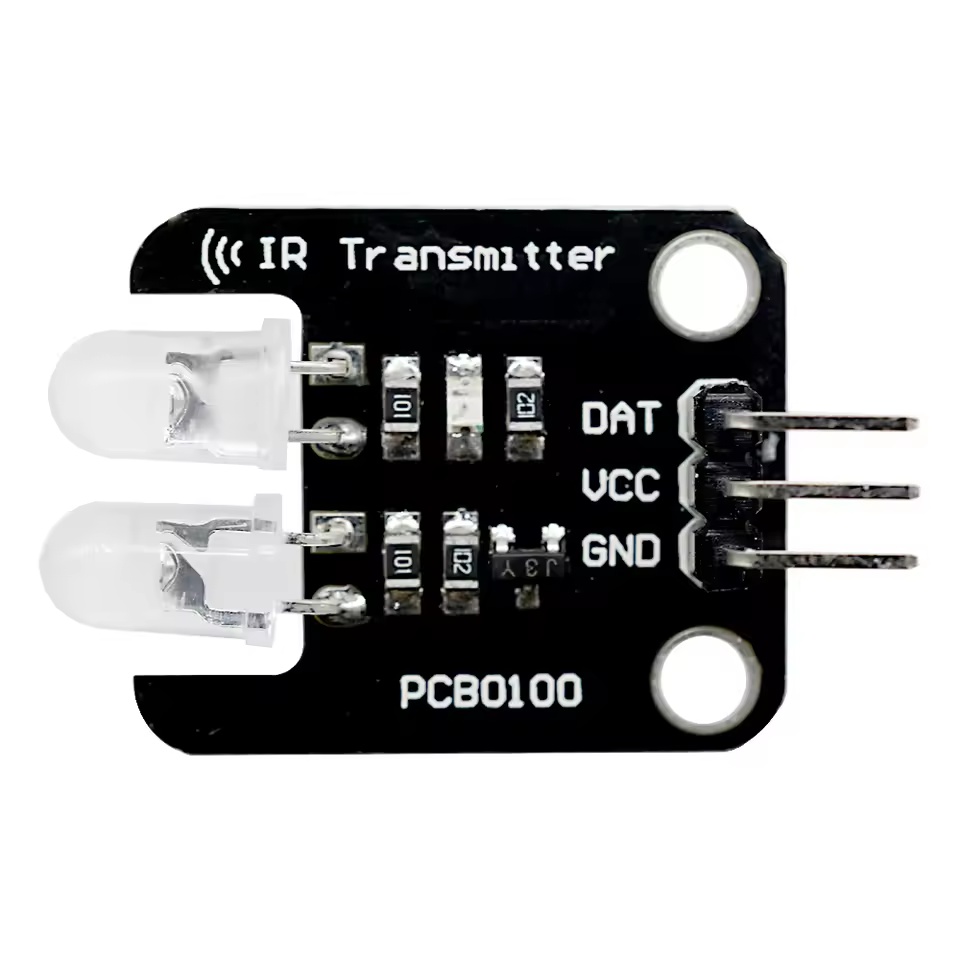
Real 2-channel IR transmitter module
Never mind, I bought a new one by carefully checking the description, images, and reviews this time. It worked pretty well.
Master IR Remote
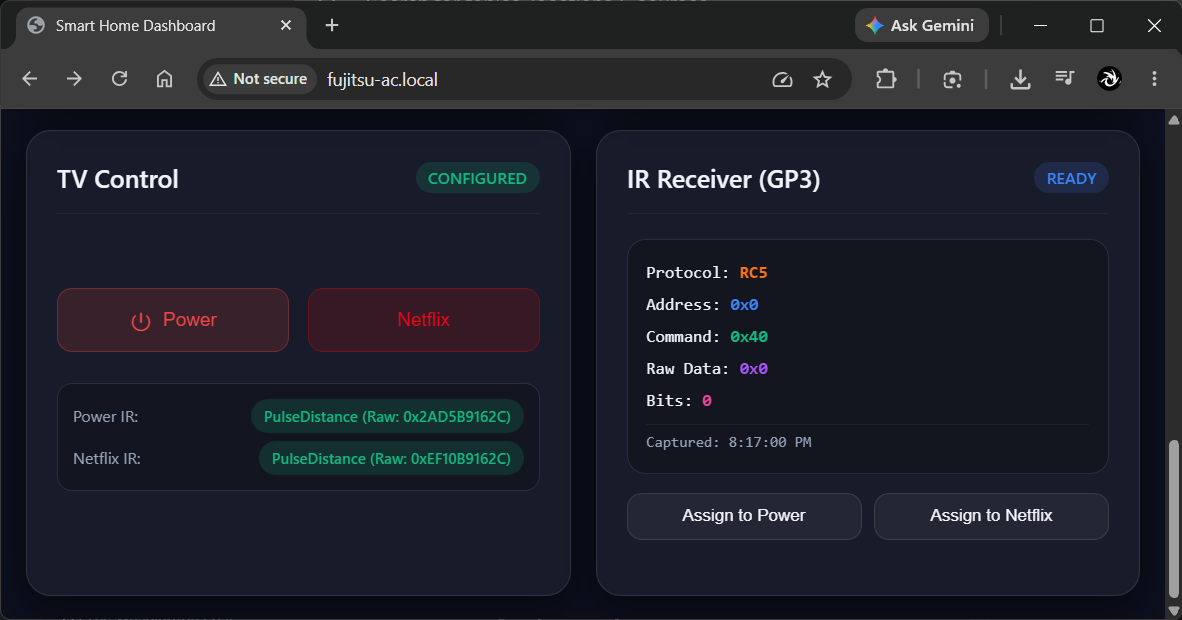
Now that the hardest part, reverse engineering the AC's IR protocol, was done, collecting IR codes for the lights and TV was fairly straightforward. I just used the same IR recorder program to record the new signals, asked Opus to assign them to individual buttons, and we were good to go.
Homebridge & OpenClaw
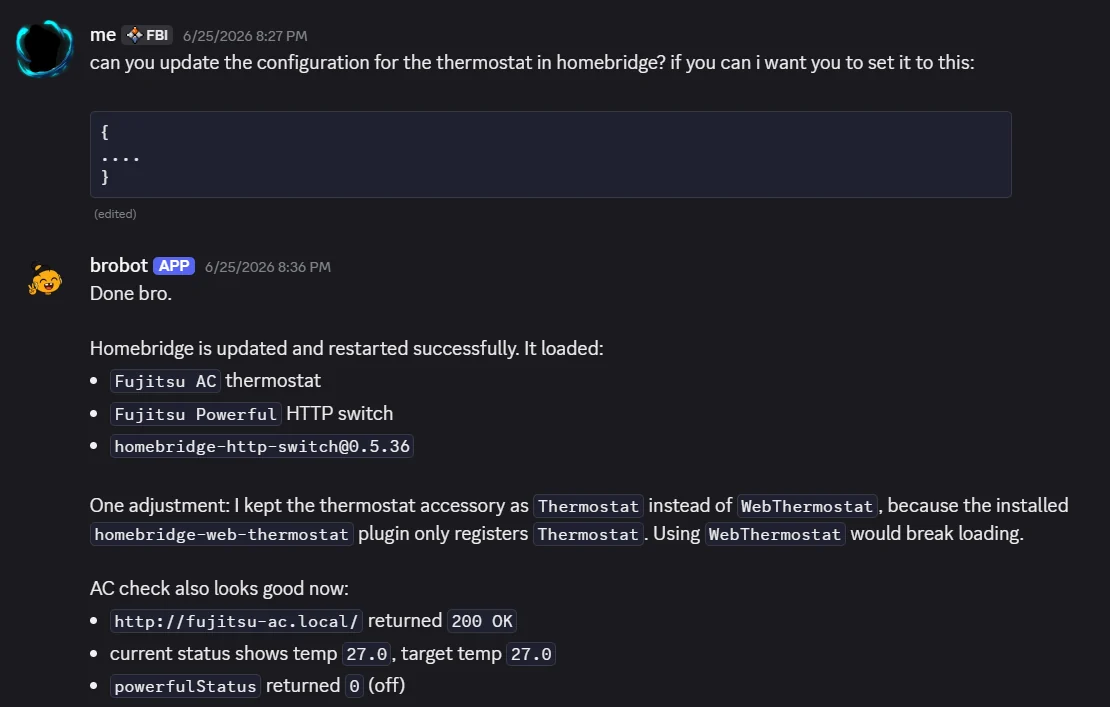
The setup for Homebridge was just a prompt away, thanks to my 'Brobot' Discord bot. Brobot is powered by OpenClaw and lives on my old laptop, looking after my home. It set up all the new HTTP switches, and the Web Thermostat plugin for me. I could immediately see the new devices appear in my iPhone's Home app, since I had already added the HomeKit bridge in my Home app while setting up the Ambilight system.
The Android TV ADB Controls
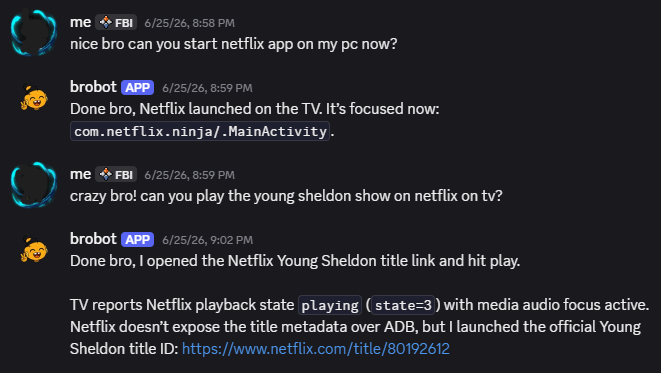
While working on it, I realized that I could use ADB to control my Android TV directly from Homebridge using a plugin called homebridge-adb. This was a much better alternative to using IR blasters. Since ADB can connect wirelessly over Wi-Fi, there is no need for any microcontroller. Furthermore, it is much more reliable than IR blasters, and I can do a lot more than just turn the TV on and off. I can control the volume, switch inputs, launch apps, and much more. So, I set up four switches in Homebridge: turn the TV on/off, switch to HDMI input, open YouTube, and open Netflix. After a little configuration, I was able to control my TV using the Home app on iPhone or Siri.
Most importantly, the ability to open specific videos on YouTube or titles on Netflix is a game changer. I can ask my 'Brobot' on Discord to "Play the latest episode of some show on Netflix", and it will do just that.
TV Deep Sleeps, Lags While Turning On
Using ADB to control the TV is a game changer. However, it has its own set of problems. Since it's a wireless protocol, it's not as responsive as the IR remote. When the TV wakes from deep sleep, there is a significant lag, sometimes as high as 30 seconds. I tried using another Homebridge plugin, homebridge-androidtv, that uses Android TV's remote control API instead of relying on ADB. Still, the same problem persisted. It seems like it's an issue with Android TV's deep sleep implementation. I eventually gave up on trying to fix this and decided to use the IR signal from my Raspberry Pi Pico W setup to turn on the TV from deep sleep, then use ADB after it was already awake.
I really wish the manufacturer had added some settings to control the deep sleep functionality. But that's okay, because I was able to hack through it using a combination of IR and ADB.
The Fun Stuff
Once the technical setup was complete, it was time to have fun!
Scenes
I started by setting up scenes on my iPhone's Home app. My favorite scene is the 'Movie Time' scene. It turns off all the lights in my room, dims the Ambilight for my TV, turns on the TV, opens Netflix, and adjusts the AC to my current preferred temperature in the Home app. It literally feels like magic, and I can safely say that I am watching more movies these days because of it.
Similarly, I have set up scenes for arriving home, leaving home, waking up, bedtime, etc. I want to add more scenes in the future. Maybe something related to room temperature and humidity. I want to play with automations using the Shortcuts app to see if I can further enhance the smart home experience.
Brobot (my OpenClaw agent on Discord)
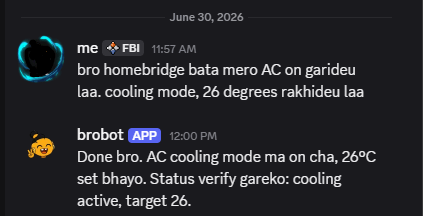
Since it's been crazy hot in Japan lately, and the AC takes quite a while to cool down the room after I get home from the office, I usually message my Brobot to turn on the AC on my way home. That way, by the time I reach home, the room is already cool.
A Bit of Overengineering, Is It?
Well, if you had asked me a year ago, I would say yes because the amount of software I had to work through just to get the AC working was a lot. But in this project, most of this software work was handled by AI agents. So technically, I didn't have to do much work at all except guide the agents and handle the hardware part. It was just a matter of setting things up in the right way. And the open source community has made it incredibly easy to do just that.
Moving forward, it is important to find ways to make AI agents work for you, and I am always on the lookout for such projects. It is just so much fun to see your ideas come to life.
Next, I am planning to give my Brobot a simple physical form using some LED matrix eyes, speakers, and wheels. Wish me luck!
GitHub repository
SafalFrom2050/pico-w-room-controller
Raspberry Pi Pico W firmware for controlling a Fujitsu AC, ceiling lights, and a TV through IR, with a web dashboard, HomeKit via Homebridge, and OTA updates.
👏Enjoyed this article?
Drop some claps if you found this article helpful.
From the archive
More writings
Jun 1, 20264 min read
Vibe Coding my own ESP32 based Smart Home System
Sep 3, 20267 min read
The Native Renaissance: Why AI Agents Might End the Cross-Platform Compromise
Aug 31, 20267 min read